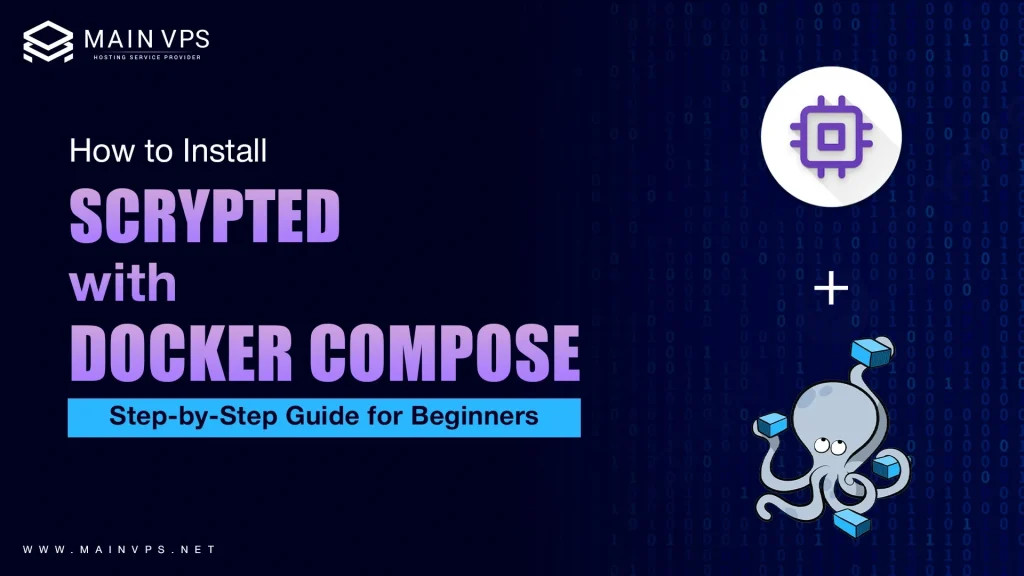
If you’re diving into smart home video management, Scrypted is one of the most powerful tools you can set up. It turns your local video feeds into smart, secure, and ultra-fast streams—especially great when integrated with HomeKit, Google Home, or Alexa. In this guide, we’ll walk you through how to install Scrypted using Docker Compose—a clean, modular, and scalable way to run Scrypted without cluttering your system.
What is Scrypted (And Why Should You Use It)?
Scrypted is a high-performance video automation platform that lets you connect and manage IP cameras, video doorbells, and smart home devices. Think of it as the bridge between your camera feeds and your home automation platforms.
Key features include:
- Real-time low-latency video streaming
- HomeKit Secure Video support
- NVR (Network Video Recorder) capabilities
- Plugin-based system for adding devices and features
And the best part? It runs beautifully in Docker, keeping your main system clean and isolated.
What You Need Before Installing Scrypte
Here’s what you should have ready:
- A Linux-based system (like Ubuntu or Debian) – though macOS works too
- Docker and Docker Compose installed
- A user account with sudo privileges
- Optional: External storage (if using Scrypted NVR for recordings)
Don’t have Docker installed yet?
You can install it via the script below or refer to Docker’s official docs.
🚀 Step-by-Step: Installing Scrypted Using Docker Compose
Step 1: Download the Scrypted Installation Script
This script automatically sets up Docker (if not already installed) and prepares Scrypted’s Docker environment.
bash
curl -s https://raw.githubusercontent.com/koush/scrypted/main/install/docker/install-scrypted-docker-compose.sh > ~/install-scrypted-docker-compose.sh
This command grabs the latest install script directly from Scrypted’s GitHub repo.
Step 2: Run the Script with Docker Compose
Now, execute the script with elevated privileges. Be sure to set the correct service user—usually your current user.
bash
sudo SERVICE_USER=$USER bash ~/install-scrypted-docker-compose.sh
What this script does:
- Installs Docker and Docker Compose if missing
- Sets up volume mapping for persistent storage
- Deploys the Scrypted Docker containers
- Configures the system to run Scrypted as a service
Step 3: Optional External Storage Setup
During the script execution, you’ll be prompted to mount external storage if you plan to use the Scrypted NVR (recording feature). Choose wisely here—it helps store your footage without using up system drive space.
Step 4: Remove the Script (Optional Cleanup)
Once you’re done installing:
bash
rm ~/install-scrypted-docker-compose.sh
Clean system = Happy system
How to Access Your Scrypted Dashboard
After installation, Scrypted is available at:
arduino
https://localhost:10443
You may get a browser warning due to a self-signed certificate—don’t worry, it’s normal for local HTTPS setups.
💡 Use https://your-local-ip:10443 from another device on the same network if you’re not using localhost.
Where’s My Scrypted Config?
The Docker Compose config file is located here:
bash
~/.scrypted/docker-compose.yml
This file contains your service definitions, volumes, and environment settings. You typically won’t need to touch it, but it’s handy to know where it lives in case you want to tweak port settings or volumes.
Need to Restart or Stop Scrypted Later?
Use these Docker commands:
- Restart Scrypted:
bash
docker-compose -f ~/.scrypted/docker-compose.yml restart
- Stop Scrypted:
bash
docker-compose -f ~/.scrypted/docker-compose.yml down
Final Thoughts: Why Docker Compose is the Best Way to Run Scrypted
Using Docker Compose to run Scrypted keeps your smart home setup modular, easy to maintain, and scalable. It’s perfect for tinkerers, home automation geeks, or anyone looking to manage cameras securely with low latency.
This method:
- Avoids system clutter
- Simplifies updates and backups
- Makes it easier to move setups between devices
- Offers easy plugin management through Scrypted’s UI
FAQs About Scrypted Docker Compose Installation
1. Can I use this setup on a Raspberry Pi?
Yes, but performance varies by model. Raspberry Pi 4 (4GB or 8GB) is the bare minimum for basic camera streaming.
2. What happens if Docker isn’t installed?
The script will install Docker and Docker Compose for you during the setup process.
3. Can I add new plugins after installing Scrypted?
Absolutely! Scrypted has a plugin store built into the UI where you can install integrations for Ring, Reolink, HomeKit, and more.
4. How do I update Scrypted when a new version comes out?
You can just run:
bash
docker-compose -f ~/.scrypted/docker-compose.yml pull
docker-compose -f ~/.scrypted/docker-compose.yml up -d
5. Is HTTPS required for accessing Scrypted?
Yes. Scrypted enforces HTTPS by default to keep your data secure. You can add valid SSL certs if preferred.
6. Can I move Scrypted to another server?
Yes. Just copy the ~/.scrypted/ directory and use the same Docker Compose file on the new machine.
7. Do I need to open ports on my router?
Not unless you want to access Scrypted outside your home network. In that case, set up proper port forwarding or use a secure VPN.
What’s Next?
- Start adding your camera feeds
- Install plugins for automation
- Link with HomeKit, Google Home, or Alexa
You’re ready to level up your smart home video surveillance!